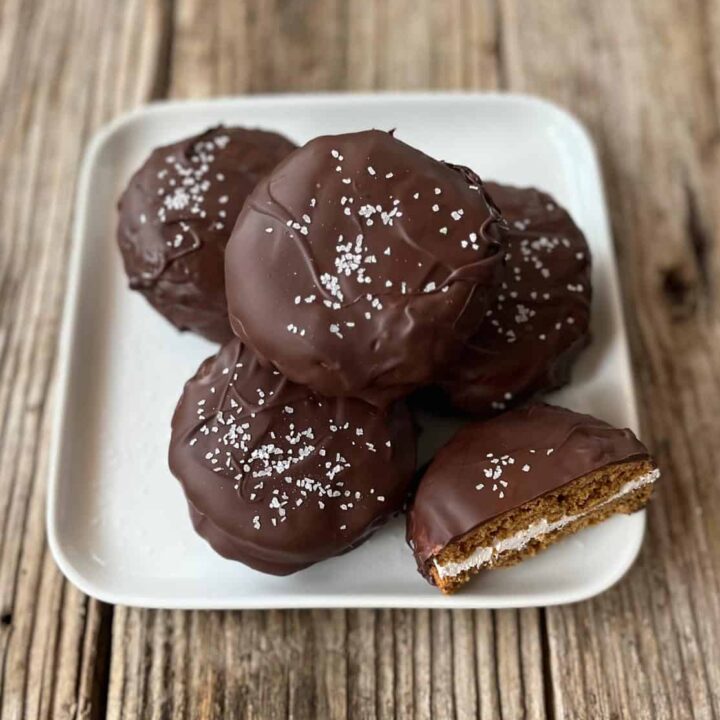
Growing up I remember these gooey chocolate cookies and how much I loved them! So when I came across them recently I smiled from ear to ear and knew I had to make them!
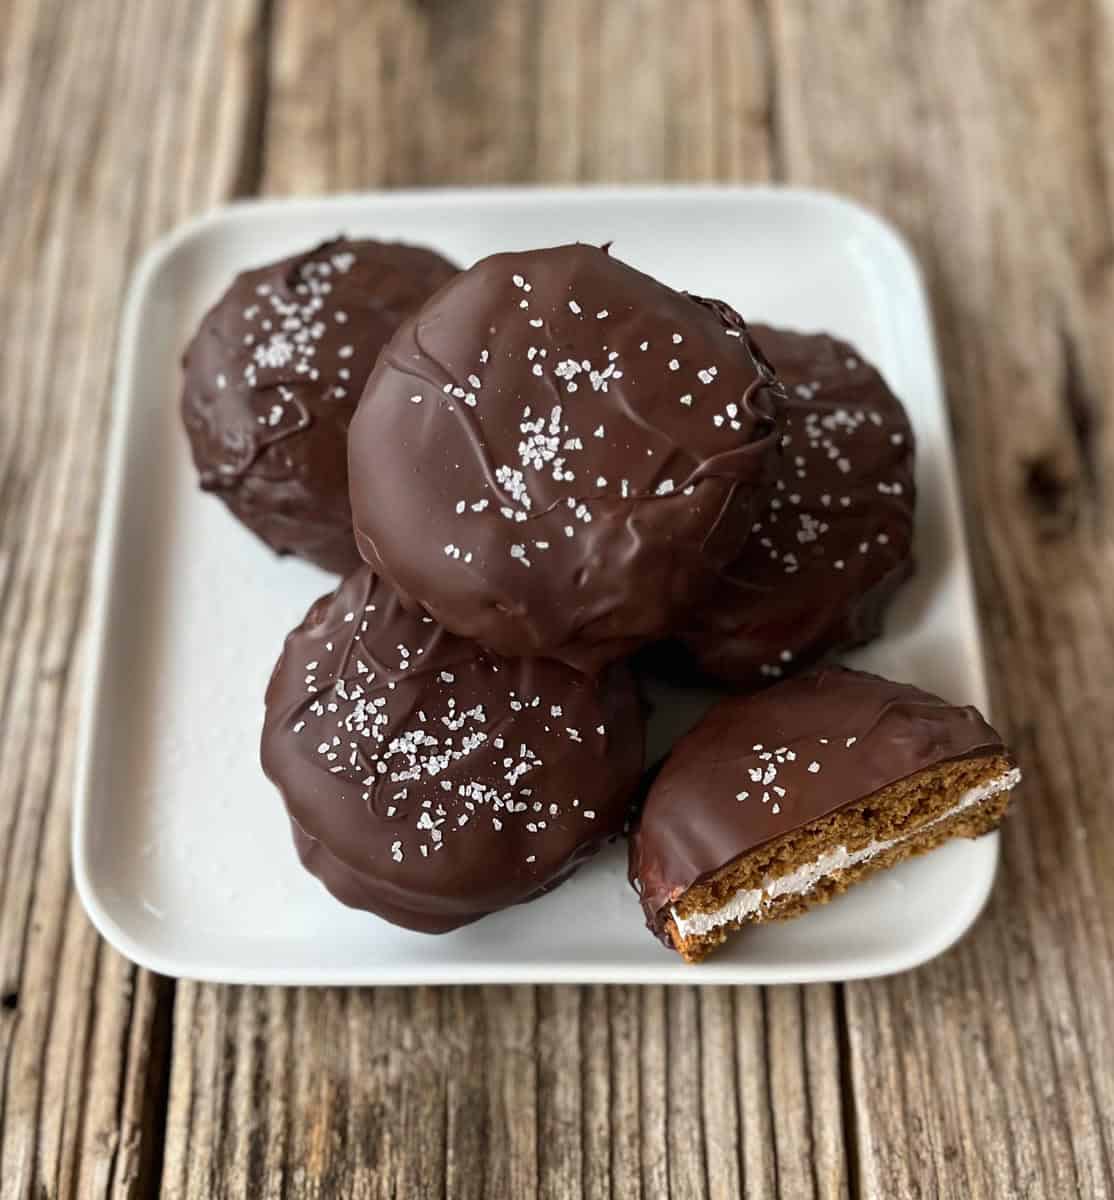
I mean, what’s better than gooey marshmallows pressed in between graham crackers and covered with chocolate? Wow!

- Prep time: 15 minutes
- Chilling time: 30 minutes
- Bake time: 12 minutes
- Assembling time: 30 minutes
- Total time: 1 hour + 27 minutes
- Servings: Approximately 15 pies
- Prep level: Intermediate +
Why We Love Moon Pies
- The taste – Tender buttery cookies, fresh gooey marshmallow, dipped in rich chocolate. Delicious!
- Nostalgia and comfort – Moon pies are a classic treat that can bring back memories.
- Fun to make – They’re a kitchen adventure, but so fun to make with kids and family.
- Kid-friendly – Simple flavors everyone will love!
Why Are They Called Moon Pies?
In 1917 a Kentucky coal miner asked a traveling bakery salesman from Tennessee for a snack “as big as the moon”. The bakery obliged the coal miner’s request who fell in love with the marshmallow chocolate cookies and the rest as they say is history.
Fun Fact
During World War ll, the Moon Pie was a staple in care packages for service men and today are still very popular across the United States.

Ingredient Notes
For The Homemade Cookies
- Unsalted butter: Softened for easy creaming and tender cookies.
- Dark brown sugar: Adds rich molasses flavor and keeps the cookies soft.
- Molasses: Essential for classic Moon Pie taste and color.
- Pure vanilla extract: Enhances sweetness and warm spice notes.
- Egg: Binds the dough and adds richness.
- All-purpose flour: The base for sturdy yet soft cookies. Almond flour can be used.
- Finely ground graham cracker crumbs: Store-bought or make your own.
- Salt: Balances the sweetness and enhances overall flavor. Use fine kosher or sea salt.
- Baking powder and baking soda: Work together for lift and soft cookies.
- Ground cinnamon: Adds subtle warmth without overpowering the molasses.
- Heavy cream: Keeps the dough tender and adds richness.
For Homemade Marshmallow Cream Filling
Store-bought fluff can be used.
- Egg whites: Whipped into the light, fluffy marshmallow center.
- Cream of tartar: Stabilizes egg whites for maximum volume.
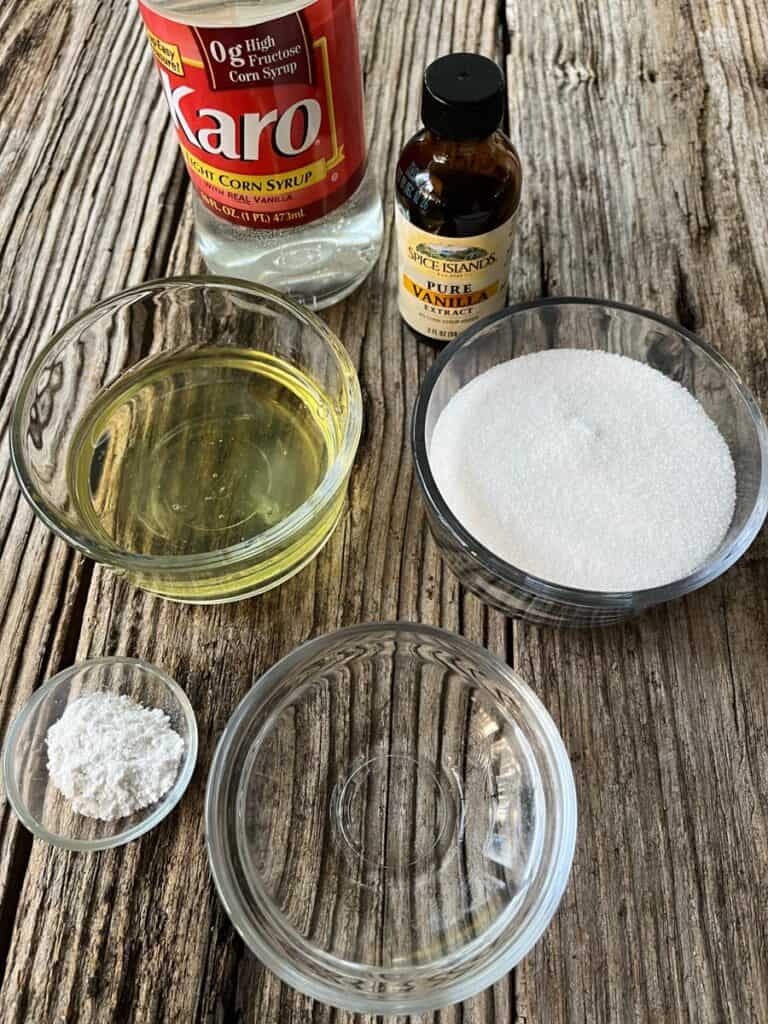
- Granulated sugar: Sweetens and binds the filling.
- Corn syrup: Prevents crystallization and keeps the filling smooth.
- Water: Helps dissolve the sugar mixture evenly.
- Pure vanilla extract: Adds the classic marshmallow flavor.
For The Gaze
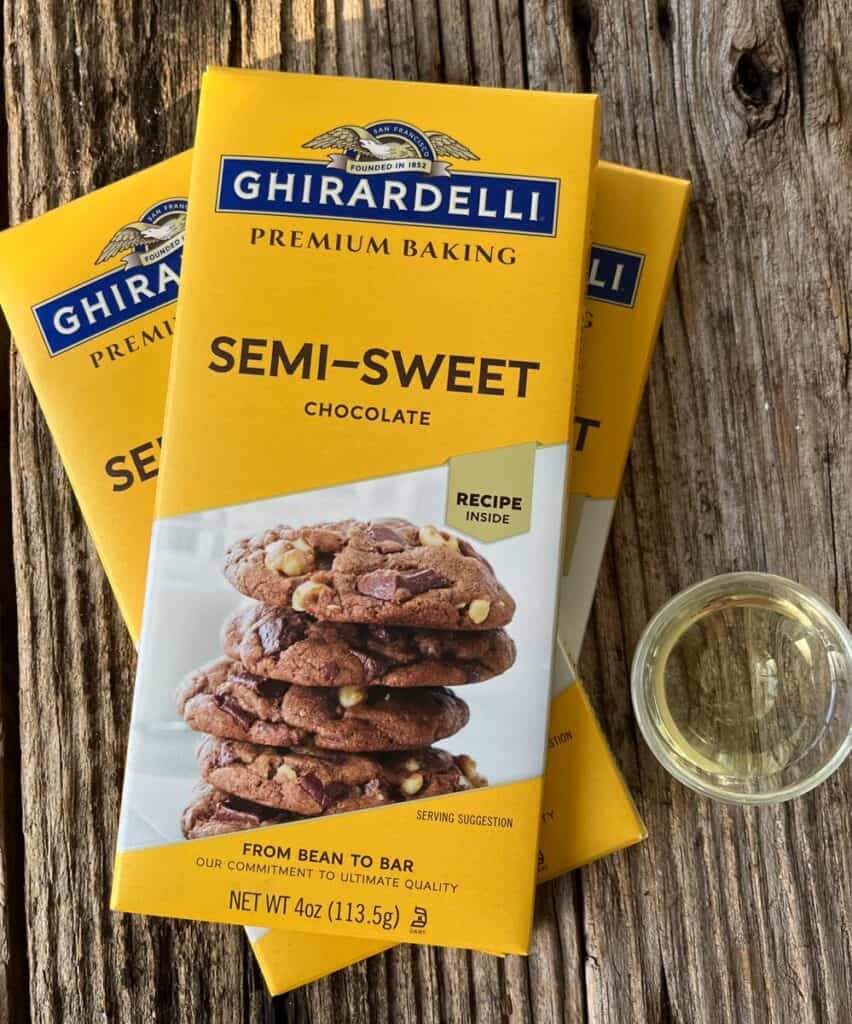
- Semisweet chocolate baking bars: Gives the cookies that classic traditional flavor. It’s not too bitter or too sweet.
- Canola oil: Thins the chocolate foe easy dipping and a glossy finish.
- Kosher salt: Enhances the overall flavor and balances the sweetness.


Step-by-Step Instructions
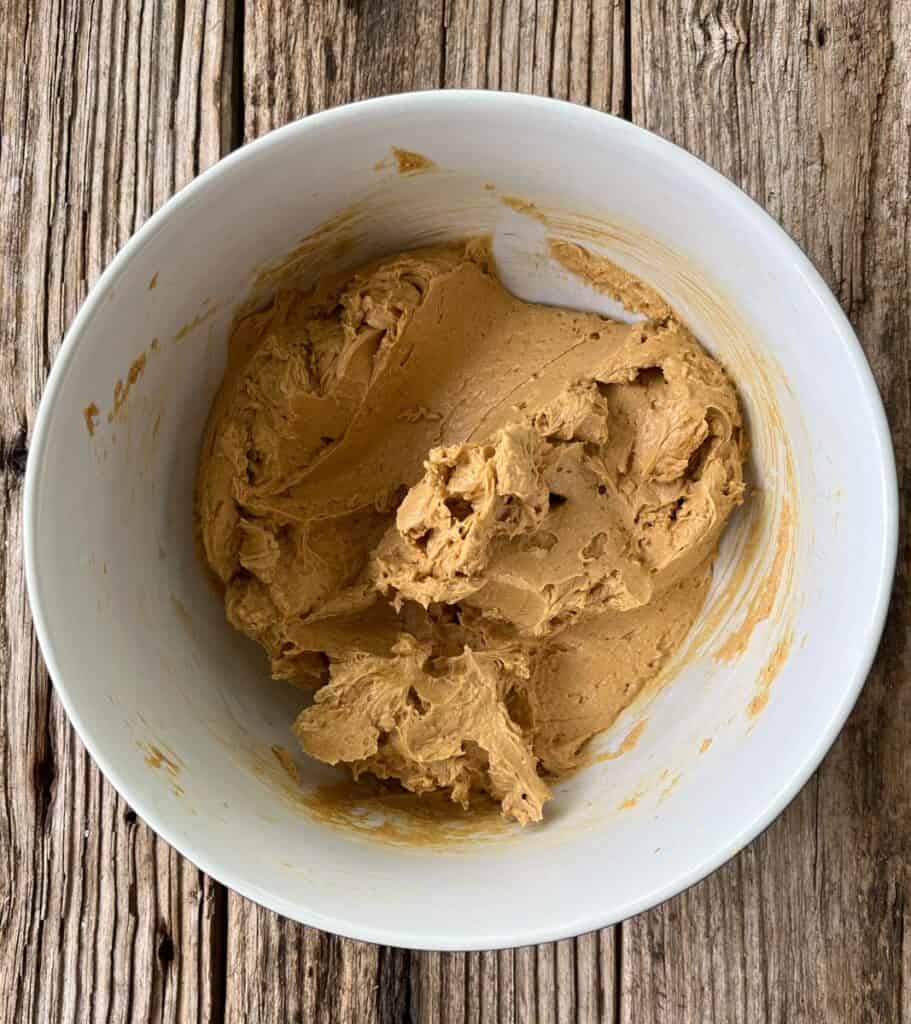
- Beat butter, brown sugar, molasses, vanilla, and egg with an electric mixer on medium speed until light and fluffy.
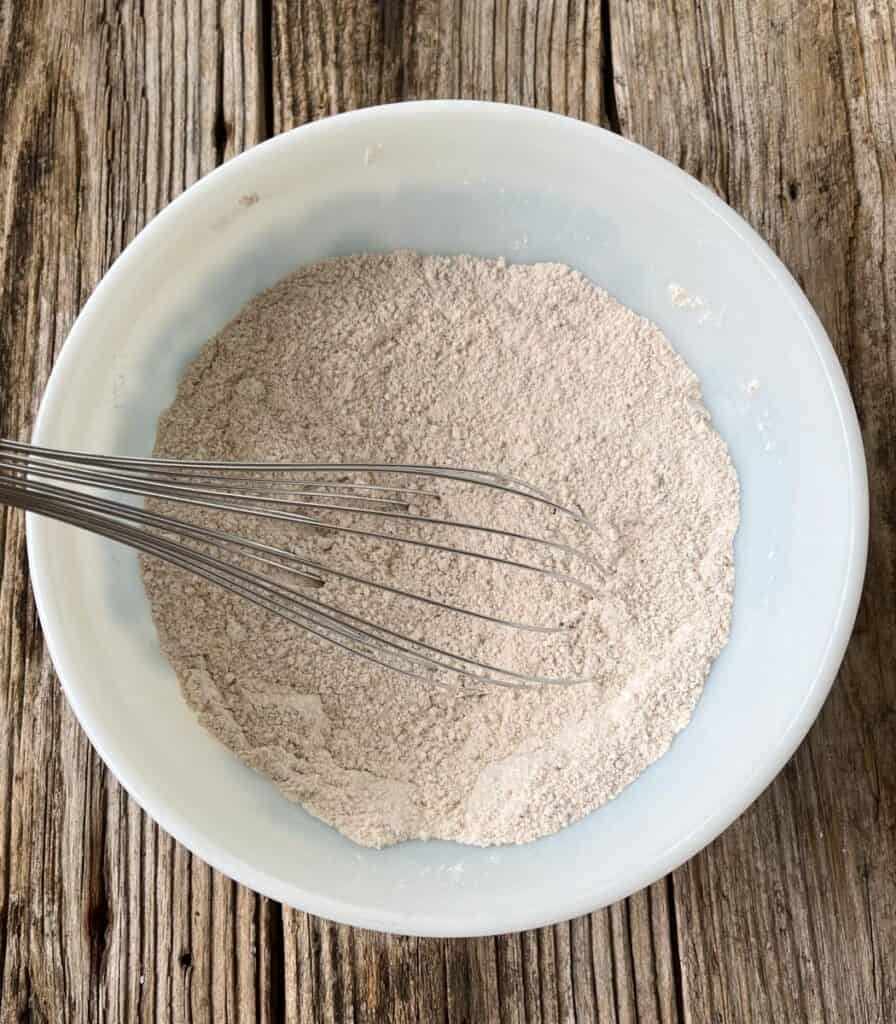
- Whisk dry ingredients together.
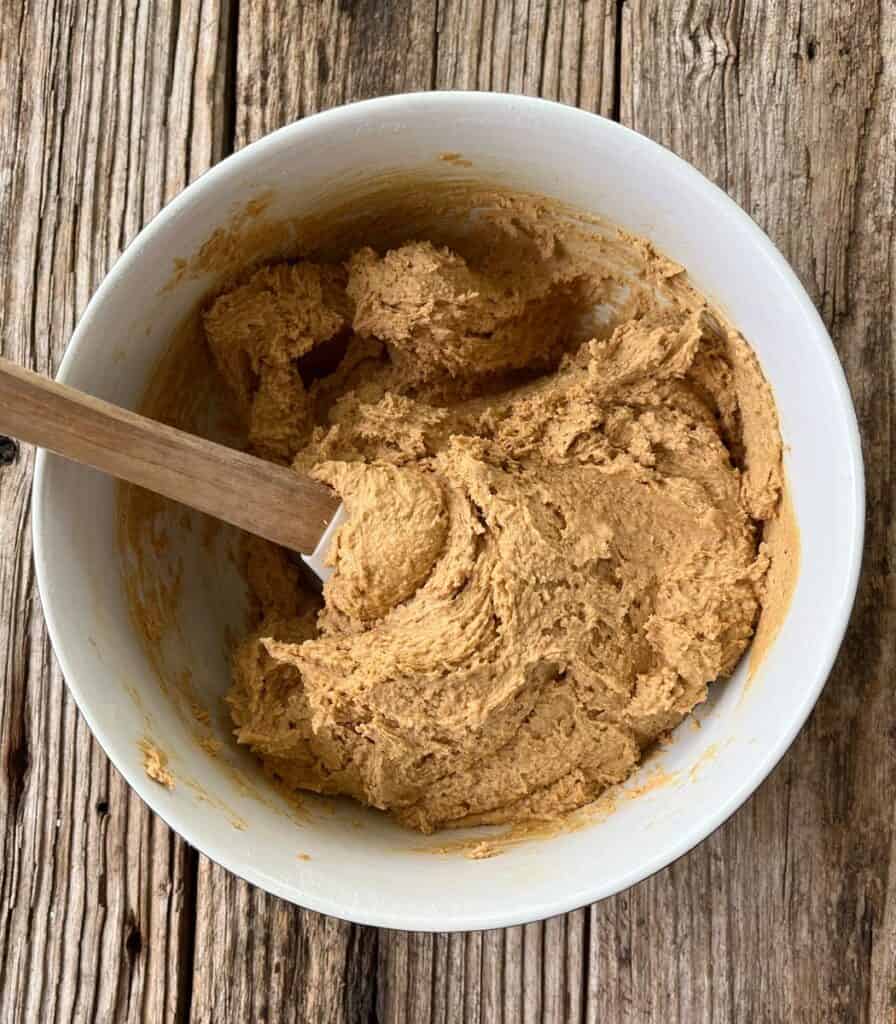
- Alternate adding dry mixture and heavy cream to the wet ingredients mixture, beginning and ending with the dry mixture. Beat until throughly blended. Cover dough with plastic wrap and chill.
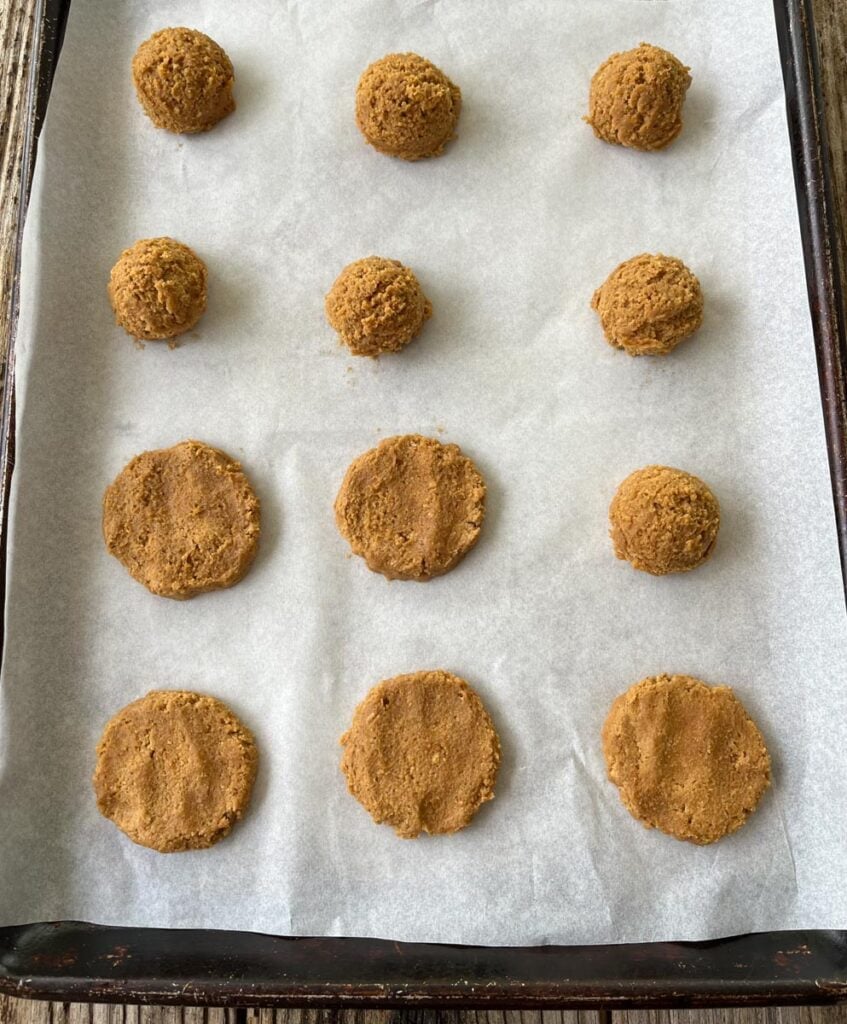
- Preheat oven. Line pan with parchment paper. Use a large cookie scoop or use the palm of your hands to form cookie dough balls.
- Place cookies on prepared baking sheet about 2 1/2 inches apart and press dough to flatten slightly.
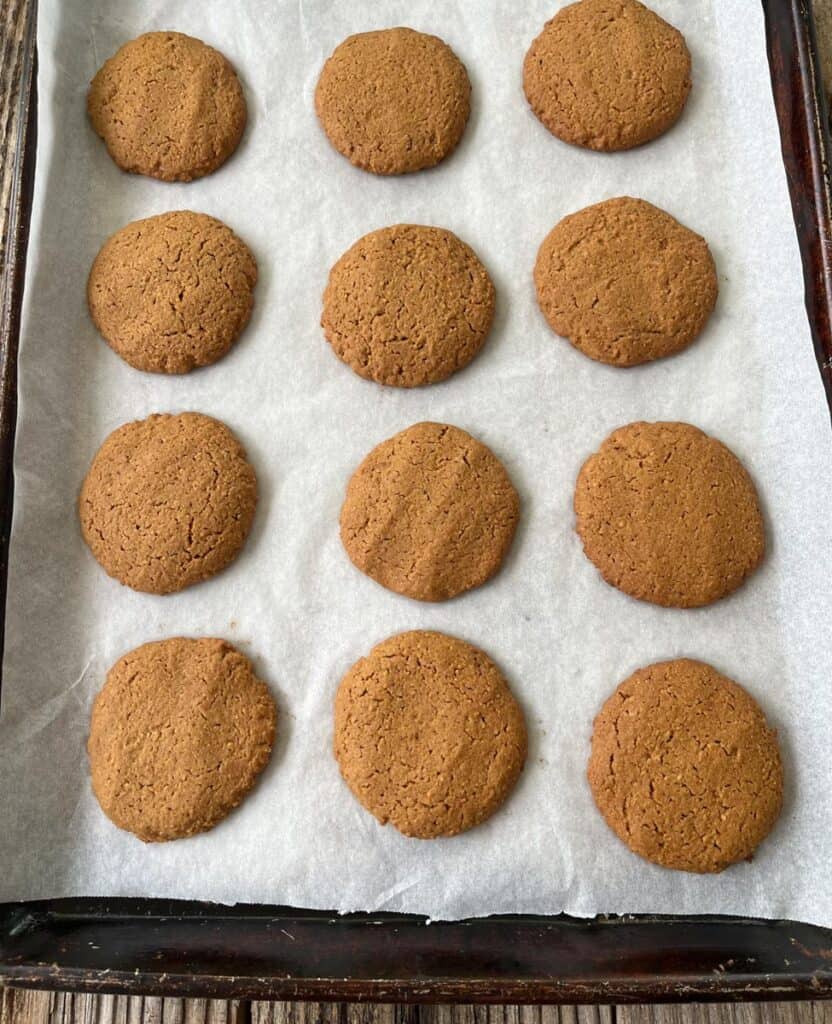
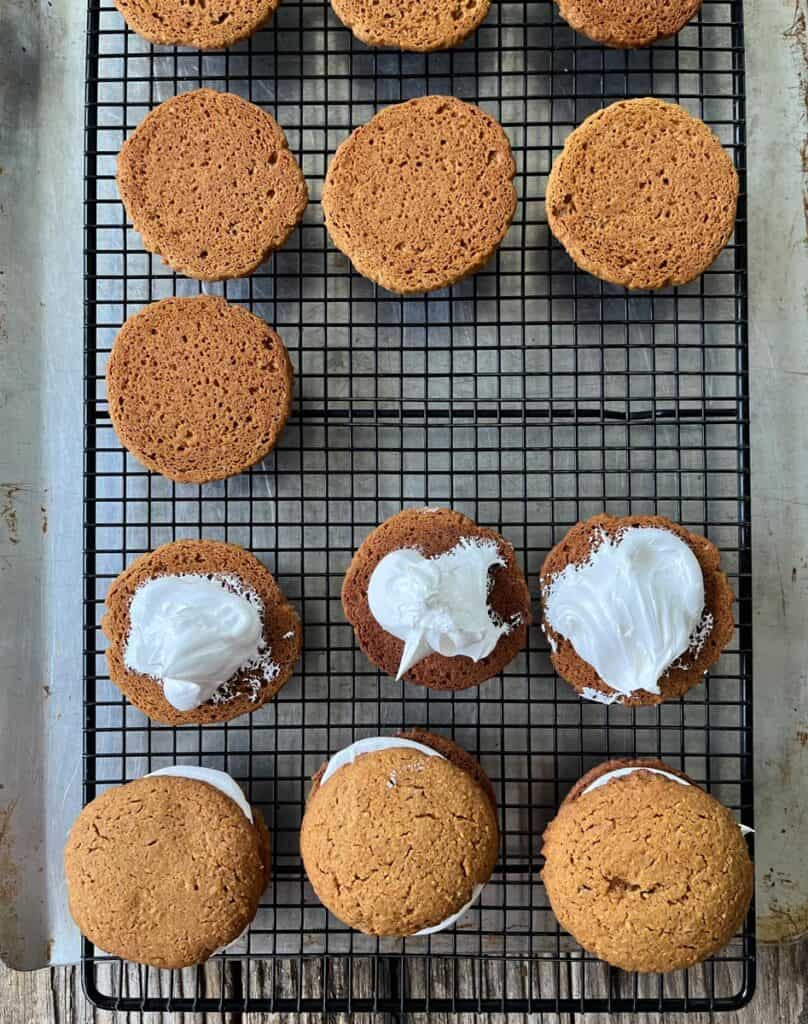
- Bake until golden brown. Remove cookies from oven and transfer to a wire rack set on a sheet pan. Cool completely.
- Turn over half of the cookies, bottom side up. Spoon filling (homemade – recipe below or store-bought) on to each of the bottom side up cookies. Place the tops of the cookies on the filling and gently press down until marshmallow filling touches the outer edges of the cookies.
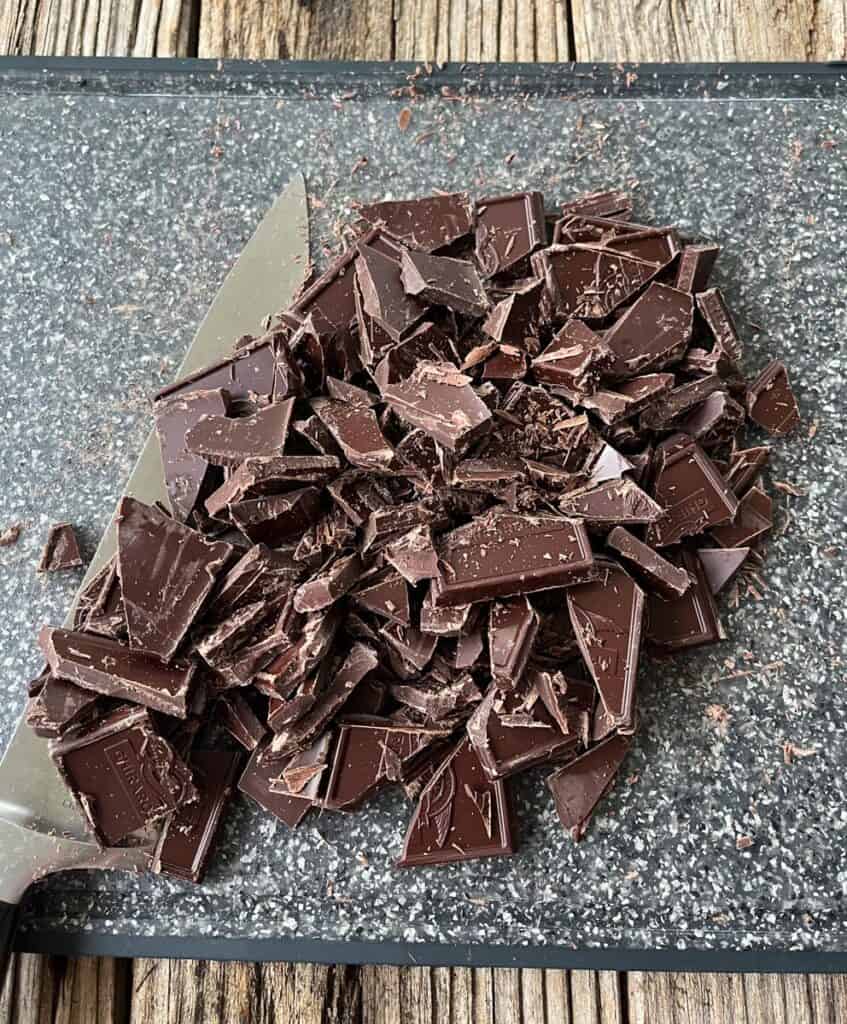
- Roughly chop up the chocolate bars.
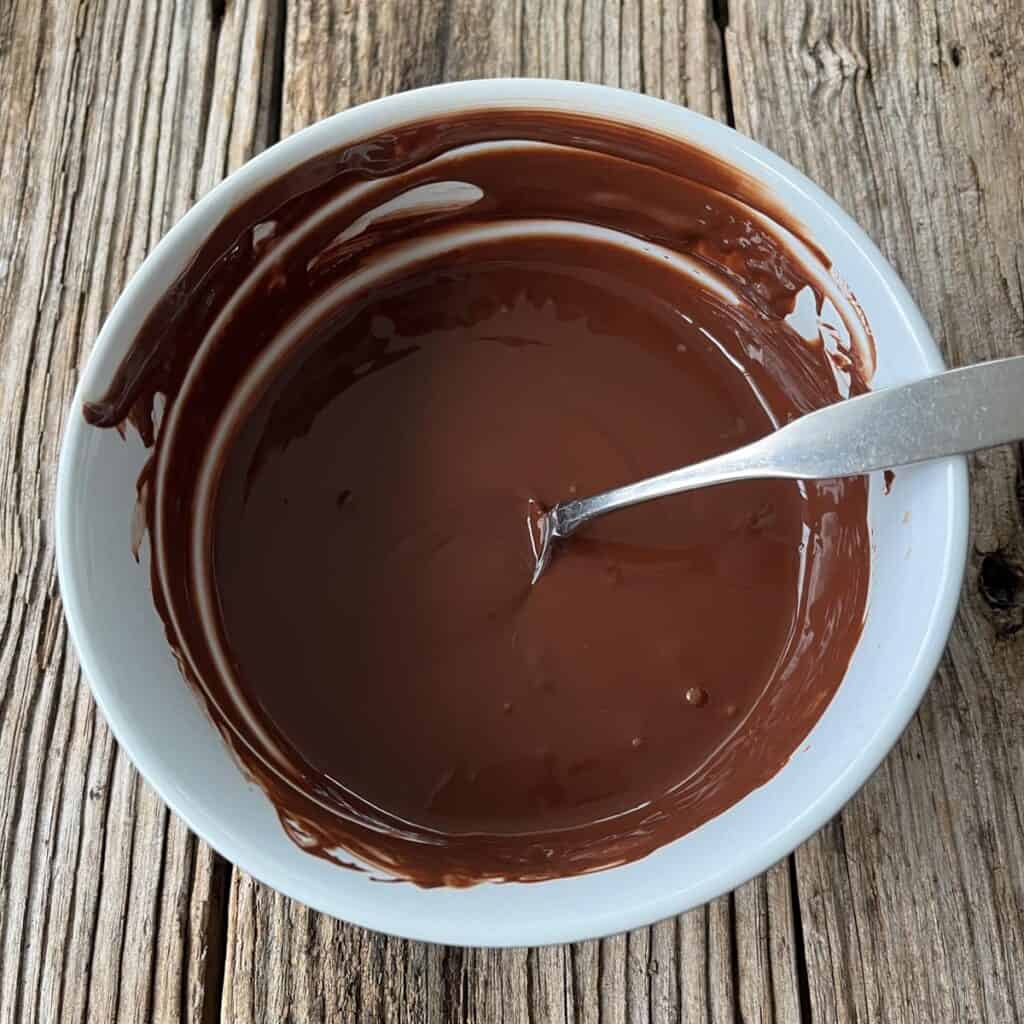
- Put chocolate in a medium-size microwave safe bowl and stir in oil. Microwave on high, stirring often until melted and smooth. Let the glaze cool for a few minutes.

- Slowly glaze over the top of each cookie one at a time allowing the glaze to drip down the sides.
- Use a small offset spatula to spread glaze evenly over the tops of the cookies and around the sides. Let the chocolate set. Sprinkle with kosher salt, optional.
See the recipe card below for complete measurements and times.
Homemade Marshmallow Cream
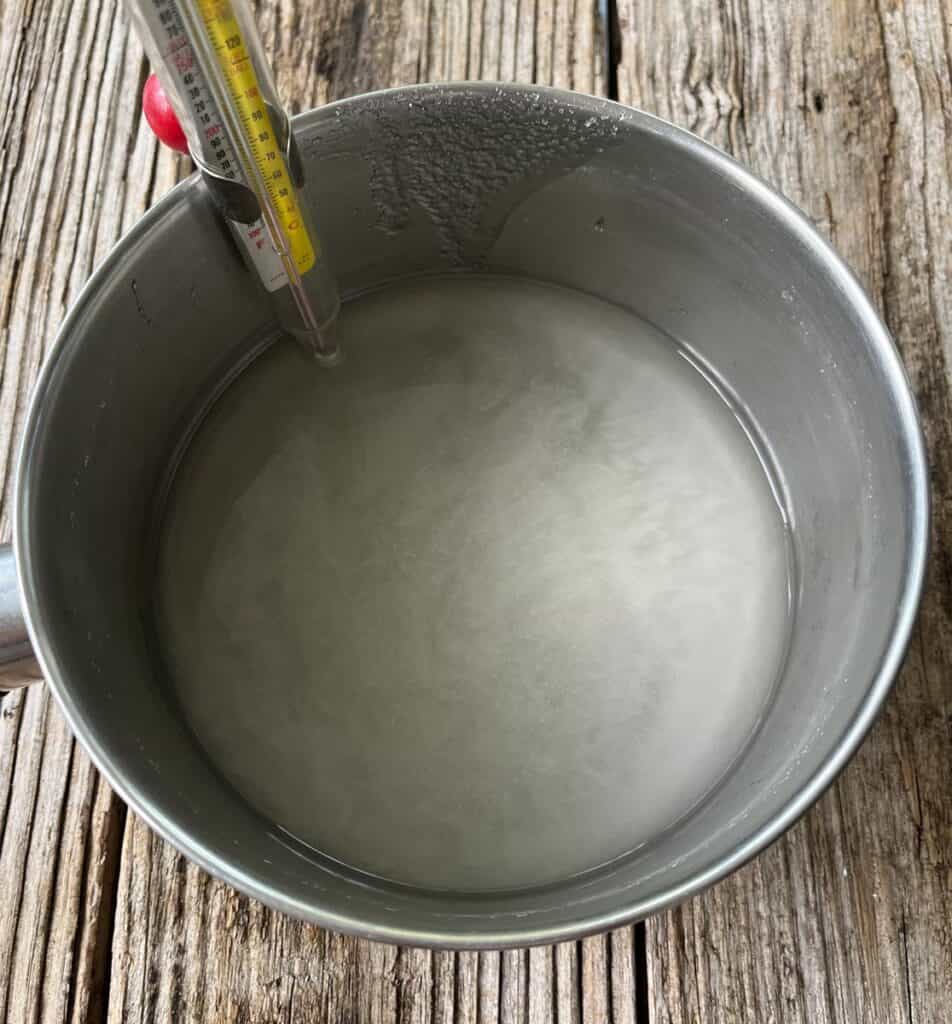
- Combine water, sugar, and corn syrup in a saucepan.
- Clip a candy thermometer to the side of the pan into the mixture but not touching the bottom of the pan. Bring to a boil over medium-high heat WITHOUT stirring.
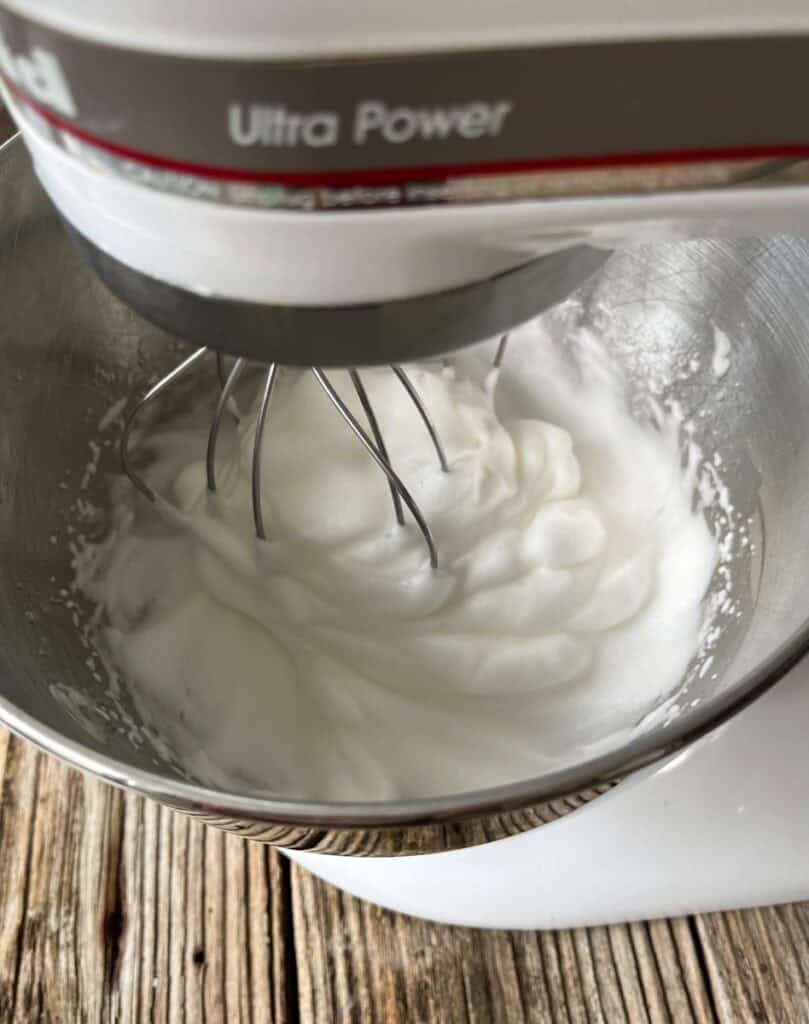
- Combine egg whites and cream of tartar in stand mixer bowl.
- As the sugar mixture begins to boil, beat the egg whites on high speed until it reaches soft peaks. Keep a watch on the sugar mixture. You want it to reach the “soft ball” stage which is 240°F degrees.
- Reduce the mixer speed to low and slowly pour the hot sugar syrup down the side of the bowl.
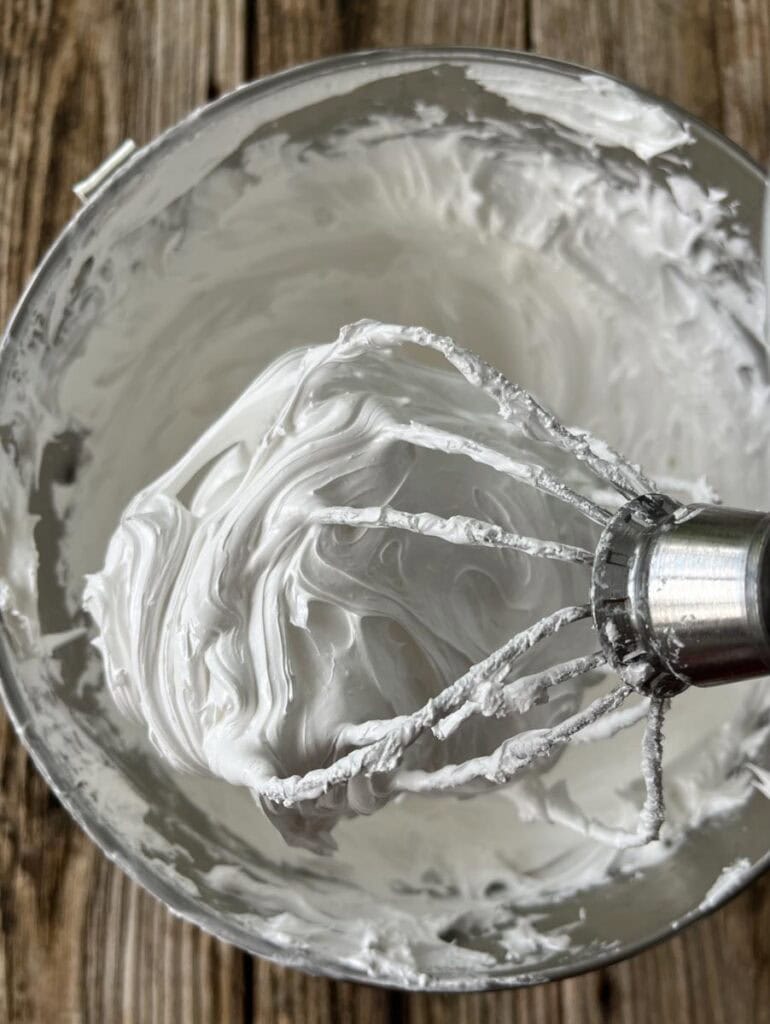
- Once all the syrup is added, increase the mixer speed to high and whip for 7 minutes. The marshmallow cream should now be shiny and very thick.
- Add the vanilla and whip for 1 more minute.

Laura Belle’s Tips
- Don’t skip chilling the dough – Cookie dough can get sticky. Chilling it for at least 30 minutes makes it easier to roll.
- Watch the baking time – Moon pie cookies should be soft. Bake until the edges are set and slightly golden.
- Let cookies cool completely – Warm cookies can melt the marshmallow filling or break during assembly. Fully cool on a wire rack before adding filling.
Storing
Room Temperature – Store homemade Moon Pies in an airtight container for up to 2 days.
Refrigerator – For longer storage, refrigerate for up to 5 days. Let sit at room temperature before serving for the best texture.
Freezer – Wrap individual Moon Pies tightly and freeze for up to 2 months. Thaw overnight in the fridge overnight and serve at room temperature.
Frequently Asked Questions
Use good quality melting chocolate of chocolate chips. You can use:
Semi-sweet chocolate for a classic taste. This is my favorite to use for this recipe.
Milk chocolate for a sweeter version.
Dark chocolate for a richer, deeper flavor.
Yes, you can also use a jar of Marshmallow Fluff (If you don’t feel like making homemade). But for the most authentic result, homemade fluff or a cooked marshmallow filling works best.
More Must Try Delicious Sweet Treats
- Coconut Crunchies from EsmeSalon
How To Make Delicious Homemade Classic Moon Pies
Growing up I remember these gooey chocolate cookies and how much I loved them!
What's better than gooey marshmallows pressed in between graham crackers and covered with chocolate? Delicious!
Ingredients
- COOKIES:
- 1 1/4 cup finely ground graham cracker crumbs
- 1 3/4 cup all-purpose flour
- 1/2 teaspoon salt
- 1/2 teaspoon baking powder
- 1/2 teaspoon baking soda
- 1/2 teaspoon ground cinnamon
- 3/4 cup (12 tablespoons) unsalted butter – softened
- 1/2 cup dark brown sugar – packed
- 1/4 cup molasses
- 1 teaspoon pure vanilla extract
- 1 large egg
- 1/4 cup heavy cream
- FILLING- if making homemade:
- 3 large egg whites
- 1/2 teaspoon cream of tartar
- 3/4 cup granulated sugar
- 3/4 cup corn syrup
- 1/3 cup water
- 1 teaspoon of pure vanilla extract
- OR YOU CAN USE: *1 – 12 ounce jar of marshmallow fluff
- GLAZE:
- 3 – 4 ounce semi-sweet chocolate baking bars – roughly chopped
- 1 tablespoon canola oil
Instructions
- Beat butter, brown sugar, molasses, vanilla, and egg with an electric mixer on medium speed until light and fluffy. Approximately 2 minutes.
- Whisk dry ingredients together.
- Alternate adding dry mixture and heavy cream to the wet ingredients mixture, beginning and ending with the dry mixture. Beat on low speed until throughly blended.
- Cover dough with plastic wrap and chill for 30 minutes.
- Preheat oven to 350 degrees.
- Line pan with parchment paper.
- Use a large cookie scoop or use the palm of your hands to form cookie dough balls about 1 1/2″ in diameter.
- Place cookies on prepared baking sheet about 2 1/2 inches apart. Press dough to flatten slightly.
- Bake until golden brown, approximately 12 minutes.
- Remove cookies from oven and transfer to a wire rack set on a sheet pan. Cool completely.
- Turn over half of the cookies, bottom side up.
- Spoon 2 – 3 tablespoons of the marshmallow filling on each of the bottom side up cookies.
- Place the tops of the cookies on the marshmallow filling and gently press down until marshmallow touches the outer edges of the cookies.
- Roughly chop up the chocolate bars and place in a medium-size microwave safe bowl and stir in oil.
- Microwave on high for approximately 2 minutes. Stir every 30 seconds until melted and smooth. Let the glaze cool for a few minutes.
- Slowly spoon 2 to 3 tablespoons of glaze over the top of each cookie one at a time allowing the glaze to drip down the sides.
- Use a small offset spatula to spread glaze evenly over the tops of the cookies and around the sides. Sprinkle with kosher salt.
- Let chocolate set for about 20 minutes.
1. Combine water, sugar, and corn syrup in a saucepan.
2. Clip a candy thermometer to the side of the pan in the mixture but not touching the bottom and bring to a boil over medium-high heat WITHOUT stirring.
3. Combine egg whites and cream of tartar in stand mixer bowl.
4. As the sugar mixture begins to boil, beat the egg whites on high speed until it reaches soft peaks. Keep a watch on the sugar mixture. You want it to reach the “soft ball” stage which is 240 degrees.
5. Reduce the mixer speed to low and slowly pour the hot sugar syrup down the side of the bowl.
6. Once all the syrup is added, increase the mixer speed to high and whip for 7 minutes. The marshmallow cream should now be shiny and very thick.
7. Add the vanilla and whip for 1 more minute.
Notes
I prefer semisweet chocolate baking bars but there are a variety of chocolate that you can use: Dark chocolate chips or bars. White chocolate chips or bars. Milk chocolate chips or bars.
You can substitute vegetable oil in the chocolate glaze.
If you don't feel like making homemade fluff, you can use jarred fluff.
Marshmallow cream should be stored in an airtight container at room temperature. It will keep up to 6 weeks.


Leave a Reply